Creating an Omnipeek capture
To create an Omnipeek capture:
1. Do one of the following to start a new capture:
• Click on the Start Page
• On the menu, click
The General options of the Omnipeek Capture Options dialog appears.
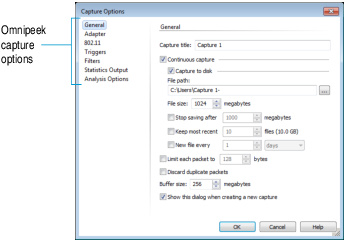
2. Configure the General options.
3. Choose an adapter in the Adapter options.
NOTE: Click on the dialog for more information on how to configure these options. For a description of other configuration options, see the Omnipeek User Guide or online help.
4. Click . A new Omnipeek capture window appears.
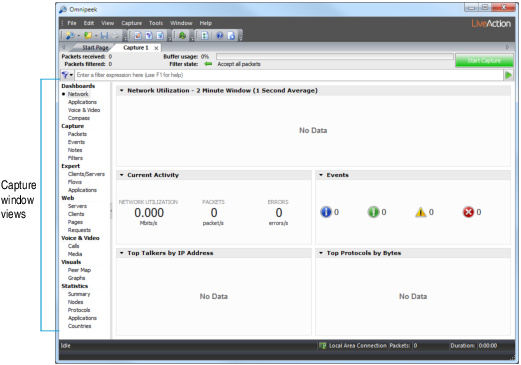
5. Click to begin capturing packets. changes to and traffic statistics begin to populate the Network dashboard of the capture window.
6. Click the capture window views in the navigation bar to view captured packets, expert and statistical analysis of the data, the Peer Map display, and more.
7. Click to end the capture. You can choose to save, discard, or resume the capture.
TIP: To resume capturing from where you left off, hold down the Alt key and click . To empty the capture buffer and start a new capture, simply click again.